How to install Microsoft 365 ( formerly Office 365) on PC and Mac?

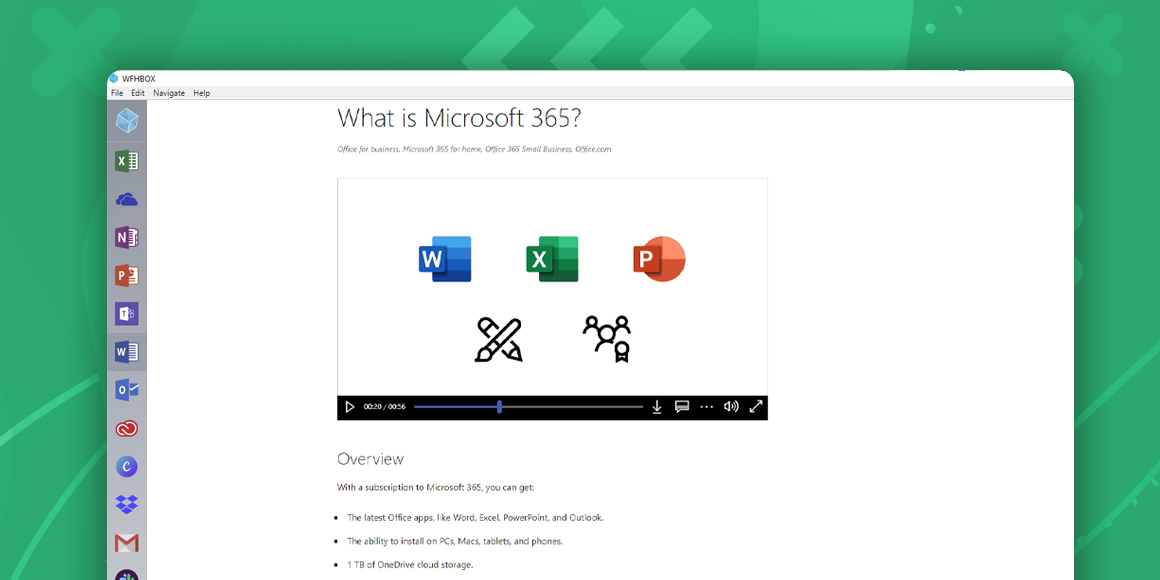
Office 365, recently renamed to Microsoft 365, is a subscription service that provides Office 2019 Desktop apps such as Word, Excel, and PowerPoint along with the Office Online web apps. All these tools can be used with virtual workspace applications, such as Focos, which can come in handy, especially if you are working from home. With a Microsoft 365 subscription, your software will be updated regularly.
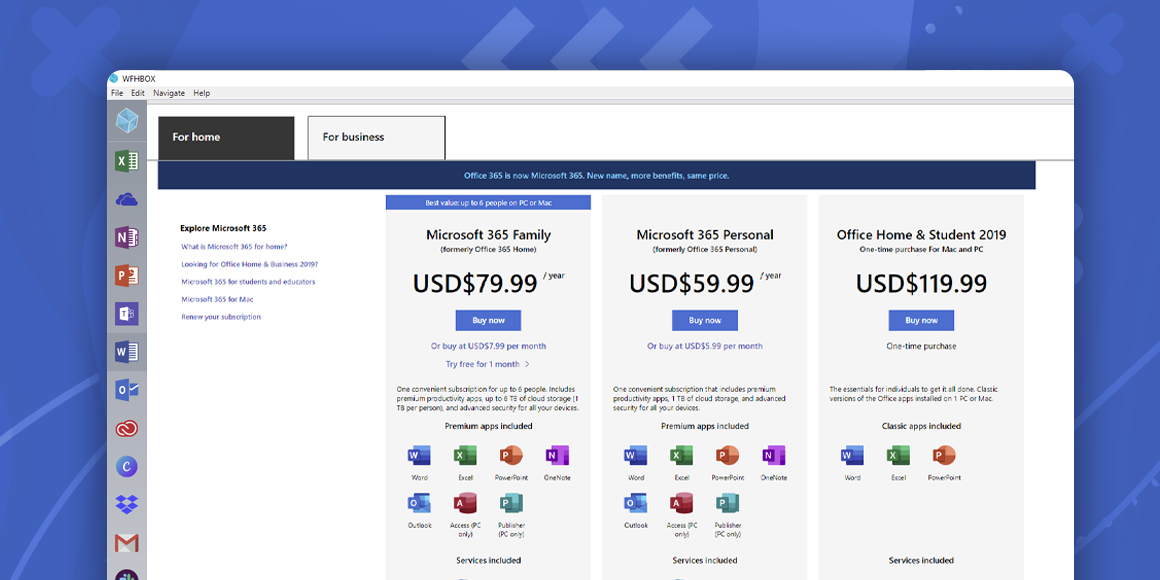
Before installing Microsoft 365, you need to explore different subscriptions and choose the one that suits your needs.
After choosing and buying the subscription, it’s time to install it.
In this text, we will go through the steps of installing Microsoft 365 on both PC and Mac.
Let’s start!
PC Installation
The first thing that you need to do, after purchasing Microsoft 365 subscription, is to Install Office on your PC.
Use a computer where you want the Office to be installed.
After doing that, you need to go to the Microsoft 365 portal page and sign in to your account and select Install Office.
On-screen prompts will walk you through the whole process. Depending on your browser you will select RUN (if using Edge or Internet Explorer) Setup (if using Chrome) and SAVE FILE (in Firefox).
If User Account Control prompt shows up asking “Do you want to allow this app to make changes to your device?” you should select YES.
Once you are done, you will be able to utilize applications on your desktop.
After you are done with your Office installation it’s time to activate your subscriptions. It’s important to know what plan you are on.
We will go through an example of activating Microsoft 365 for Home.
First, open one of the Office apps. For instance, Word.
The next step is to enter your Microsoft address and password and click Accept on the Accept the license agreement.
That’s it! You are ready to use it!
The Microsoft Office 365 for Home subscription can be shared with other people.
If you want to share your account you need to Sign in with the Microsoft account, but don’t forget to use the one that you used to set up Microsoft 365.
Select Install Office and then select the Sharing tab.
You will see a Share office pop up window where you can choose how you want to share it – through email or link.
MAC INSTALLATION
The office cloud experience doesn’t change from platform to platform and you will notice that it looks exactly like on PC.
So, we are also going to start this installation process by signing in into your Microsoft account.
You should click Install Office and choose Microsoft 365 apps.
The next step is to click the Save file button.
After downloading the file, go to downloads and double click Microsoft Office installer.pkg file.
If you have a problem opening the file and get an error saying that the file can’t be opened because it’s coming from an unidentified developer, you should wait a couple of seconds and move the file to the desktop and hold Control and click the file to start the installation.
When the installation screen is open, click Continue to start the process.
Check the software license agreement and click Agree.
Choose the way you want to install Office and click Install.
The next move is to enter your Mac login and password and click Install Software.
When installation finishers click Close and that’s it. You are all set!
Related Articles

How much is office 365?

What is Microsoft 365
(formerly Office 365)?
A single place for all your apps. Be more productive.
Coming to terms with working from home? Try FOCOS, prepare for the future of work.
