How To Create A Group In Outlook
If you find yourself sending email messages to the same group of people over and over again there’s no need to send a tedious copy-paste email. You can simply create a Contact Group and send your message there.
This perfect option helps every email user send a single email to multiple recipients in one go. If you want to be regularly in touch with people and don’t want to add each member every time, group email is exactly what you need. You can create a contact list and then just add recipients to the same.
When it comes to terms, there is no difference between a contact group, contact list, email group, or distribution list when talking about Microsoft Outlook.
However, sending a group email can be more hassle than it’s worth in case you are new to the practice. Don’t worry, we are going to explain how to create a group email in Outlook, just keep reading!
Create A Group Email in Outlook
First, open Outlook and click the Contacts icon at the bottom left of the window to switch to the Contacts view.
Next, click “New Contact Group” in the ribbon bar and give your Contact Group a name that’s easy to remember in the Name field.
You can also enter a description that will help others understand the group’s purpose. The description will be included in the welcome email when others join the group.
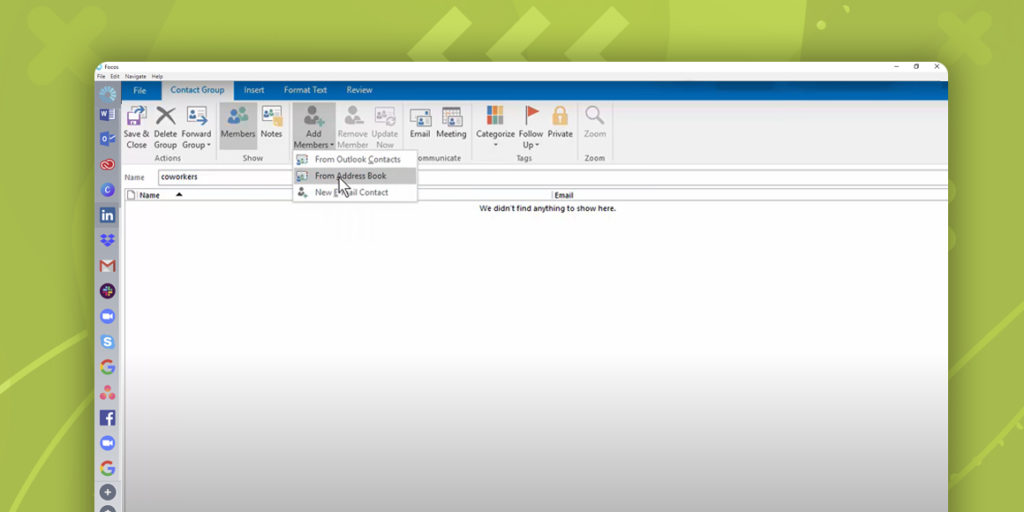
Click “Add Members” in the ribbon bar and then select “From Outlook Contacts”.
The Select Members dialog box should appear.
Double-click each name you want to add to your new Contact Group and you should see the names appear at the bottom of the dialog box.
Once you’re done adding names to the group, click “OK.”
There is also a way to manually enter names to the Contact Group that aren’t already in your Outlook contacts. You can do that by clicking “Add Members” and choosing New E-mail Contact from the drop-down menu.
Finally, in the ribbon bar, select “Save & Close” and that’s it!
Repeat those steps to create as many contact groups as you want. Remember to give them names you’ll be able to easily recall so you can add them to email messages.
A Contact Group has a small plus sign to its left and if you click on it you can “expand” the list to show you the names of all the people in the group. That’s great, but be aware that once you do that you can’t compress all those names back down to just a single entry.
Wrapping Up
Nowadays, sending emails to a group is more common in both our business and personal lives. You can use groups for your project team at work and your immediate family members at home. Either way, creating an email group can save you a lot of time.
After reading this I hope you will set up a group, pop it into the email, and easily contact multiple people with a single message!
Related Articles
How To Schedule An Email In Outlook

How To Change Outlook Password
A single place for all your apps. Be more productive.
Coming to terms with working from home? Try FOCOS, prepare for the future of work.